Squeaky: < prev | next >
Squeaky the Record Cleaning Machine is coming along nicely. Last night I spent a few minutes mocking up the drive mechanism (left) after a short trip to the hardware store.
If you look closely, there is a nut between the white plastic driven sprocket and the motor sprocket, slightly off-center. That is the pivot point for the drive chassis. With a spring forcing the idler wheel against the platter as shown, precision mounting isn't necessary, the amount of force can be made adjustable, and the device is wear tolerant.
The pivot itself is super simple as the series of pictures below demonstrate. A bronze bushing is press fit into a block of wood (below left) and a 3/8"x2" bolt slides through the bronze bushing acting as the axle.
The non-threaded portion of the bolt rides in the bushing. The two serrated lock nuts (below center) clamp onto the drive chassis which required one of the existing holes to be enlarged. Note the washer pictured below. It's probably unnecessary and will just wear out; it would be better for the nut to ride against the bushing directly.
The block was a bit thicker than the bushing so for the mock up, a hole in the block on the bottom side (above right) allows the bolt to slide up against the bottom of the bushing and also allows the entire assembly to be mounted to a flat surface without interference.
I realize none of this is very pretty. It is a mock up after all. Now that I have a sense of how it goes together, I'll revise the mounting blocks for the platter and drive chassis, making them one block, and more compact. If you can't tell I am pretty much making this up as I go, rather than trying to draw / draft it all out ahead of time.
Meanwhile I'm in the process of procuring some inkjet printers that will donate their stepper motors for controlling the motion of the cleaning, scrubbing, vacuuming arm(s). My only concern with using stepper motors is the expense of a controller. Other alternative: a cheap servo, if it is strong enough to do the work.
Squeaky: < prev | next >
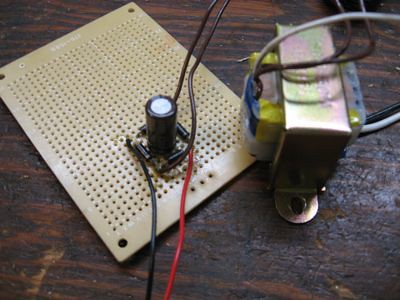 Squeaky's 24V motor power supply is operational. Eureka!


