Time is running out for robotics. My last class of the year started last night and the spectre of impending homework, reading, projects... Meanwhile my shelves are now packed with hundreds of recently acquired, filthy records pining away for a good record cleaning machi--err, record cleaning robot. Squeaky. As you know I'm kind of winging it on this one.
Squeaky is going to use a motor/sprocket/tooth-belt assembly from a bread machine with an idler wheel attached, so the entire assembly needs to pivot. Idler wheel pressure will be controlled by a spring. The previous incarnation led to a rather floppy assembly due to play in the single bronze bushing.
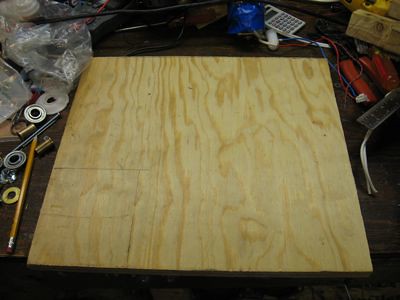
The new version uses a 3/8" threaded rod as the axle, with two bronze bushings to control wobble. I started with a 3/4" plywood base (leftmost picture below) of 13"x15" based on some mockup measurements. The base houses the lower bushing. A hole with chamfer (middle picture) makes it easier to hammer the bushing into place. A wood tower houses the topmost bushing and the threaded rod goes through both (rightmost picture below).
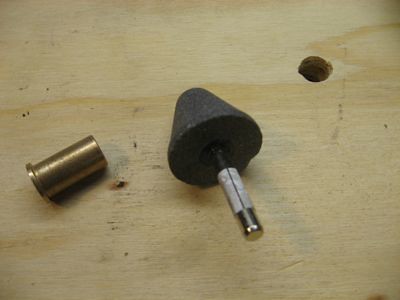

Lock nuts will cinch against the thrust surfaces of the bushings and hold the threaded rod and bushings in place and allow for end play adjustment.
 With the pivoting rod in place, all that's needed is the serrated lock nuts to clamp on either side of the motor platform and now the pivoting drive assembly is held securely with nearly no wobble.
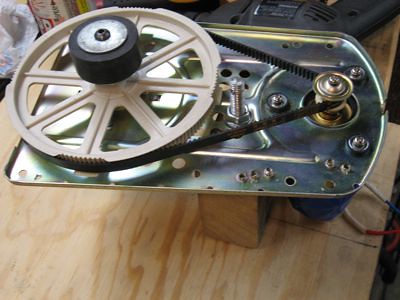
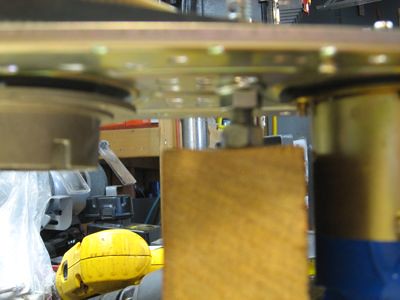
In the picture (above right) despite the dreadful fuzziness, you can make out the lock nut on the bottom and the serrated lock nut above it, holding up the bottom of the motor assembly. Another neat feature of this arrangement is that the height of the motor can be adjusted precisely.
The upper platform is 3/4" plywood, same dimensions, into which I installed the turntable spindle assembly, and cut a hole through which the idler wheel will protrude. It's not pretty but it works and it won't be visible during normal operation.
The top platform is supported by four 1" square dowels screwed into place form top and bottom (below left). Also not pretty. But, I do plan to dress this thing up once I get the details worked out. I had to make a few minor modifications but in the end, it seems to work, there's room for the vacuum, for the fluid reservoir, etc. The mechanism seems a lot tighter and more precise than my earlier mock up.
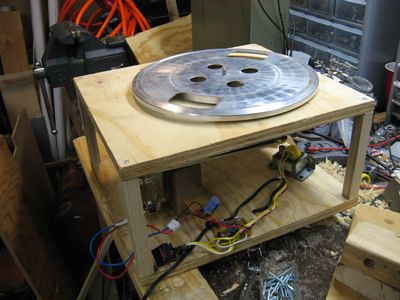

Regarding the electronics... I accidentally blew up the transformer that came with the bread maker but I was able to salvage an entire power supply including fuse, switch, transformer out of the junk linear tracking turntable I got for free and it all works beautifully with my homebrew bridge rectifier (above right).
Squeaky < prev | next >
No comments:
Post a Comment
Note: Only a member of this blog may post a comment.